Inspiration
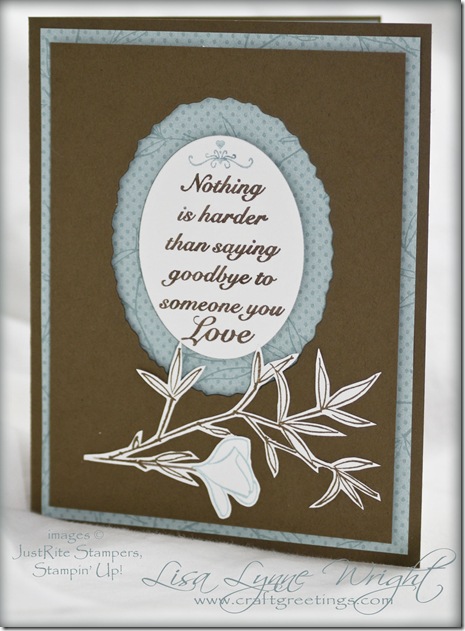
Even in the middle of such a joyous season, we often encounter sad events, too. I found myself with the somber need for three sympathy cards all at the same time – one for a friend, one for a coworker, and one for Faith H (Markie’s Mom). Faith makes beautiful cards, and I read her blog every day. Inspiration was hard to come by, so I surfed Splitcoast and found a beautiful card by Deb Felts (click here). Here’s my version.
Ingredients
Paper
Note: finished card size is 4 1/4” x 5 1/2”
| Soft Suede (SU!) | a) 4 1/4” x 11”, score at 5 1/2” |
| Green Tea DSP (SU!) | 4” x 5 1/4” |
| Whisper White (SU!) | 4” x 5 1/4” |
Ink
Soft Suede (SU!)
Stamps
Thinking of You (JustRite Stampers); Embrace Life (SU!)
Accessories
Soft Suede and Baja Breeze Markers (SU!); Stamp-a-ma-Jig; Deckled Oval and Plain Oval Nestabilities (Spellbinders); Cuttlebug (Provo Craft); Scor-Pal; Adhesive Transfer Gun 714 (Scotch); Foam tape; Rotary trimmer with straight blade (Fiskars); Scissors; Xacto Knife
Instructions
Sentiment
Using the markers, color the words of the sentiment in brown, and the flower in blue. Stamp the sentiment on the white cardstock.
Align the plain oval die over the sentiment, and cut it out using the die cut machine.
Image
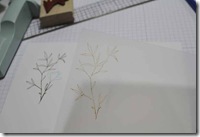
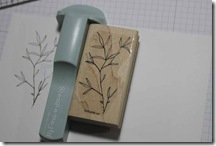
Use the stamp positioner to create the combined image of the leaves and flower.
Assembly
Run the smaller brown panel through the die cutter with the deckled oval die, to create the window panel.
Mount the patterned on the front panel of the base brown card. Then mount the designer paper using foam tape. The window panel is mounted with foam tape. Then add the sentiment oval in the center of the window using foam tape.
Glue the flower image across the bottom of the card using a clear-drying glue.
Thanks for stopping by.


1 comment:
I really like your choice of colors for this card. Beautiful sentiment! You really inspire me! Thanks!
Post a Comment
Your kind comments make my day!